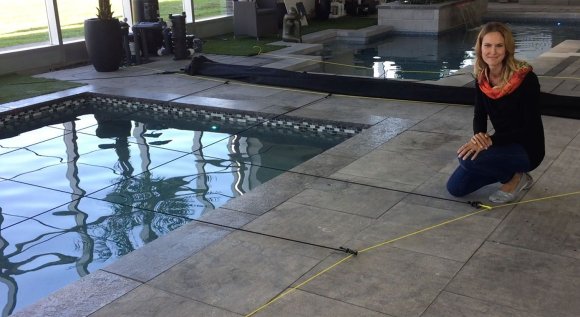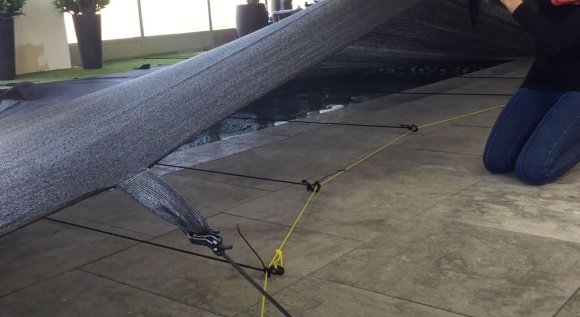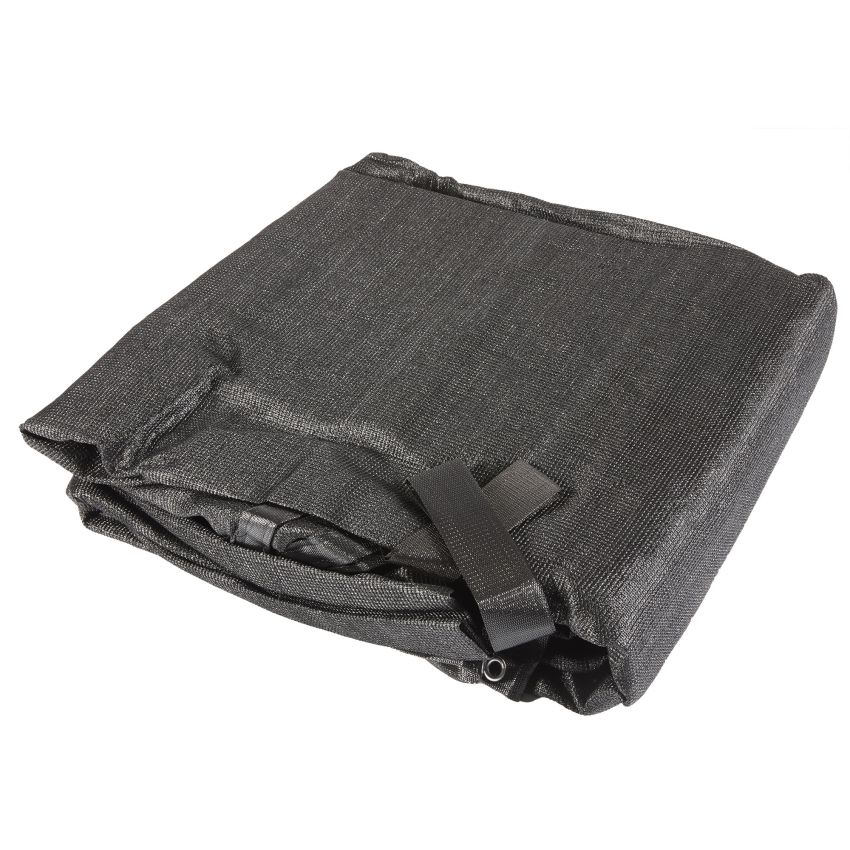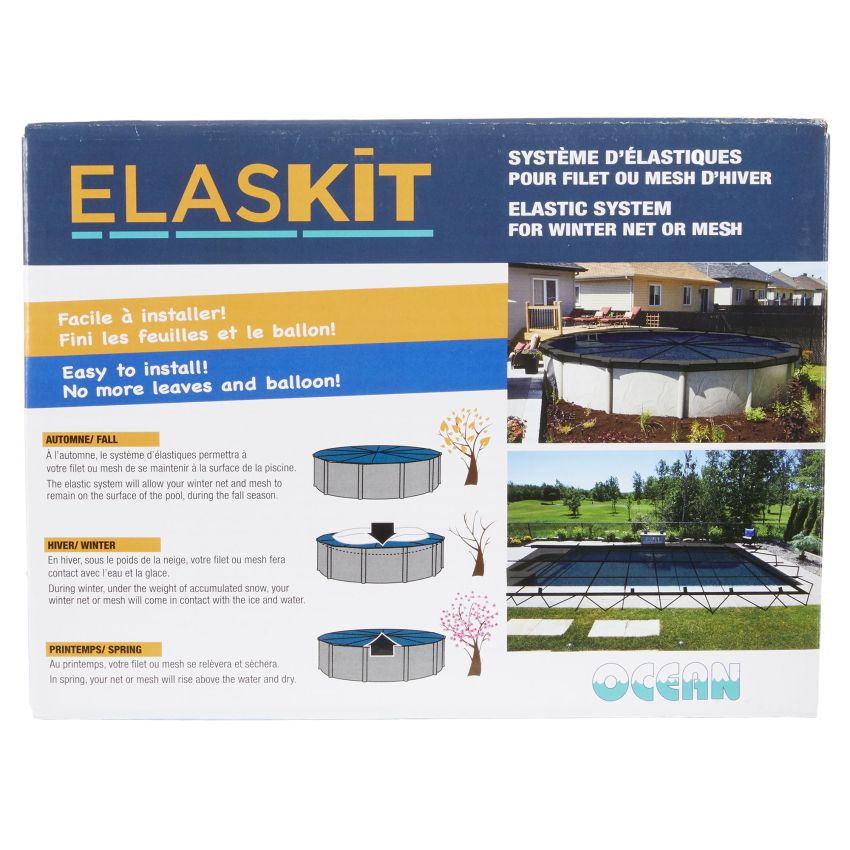
Mesh covers and elastics
Elastic system for inground
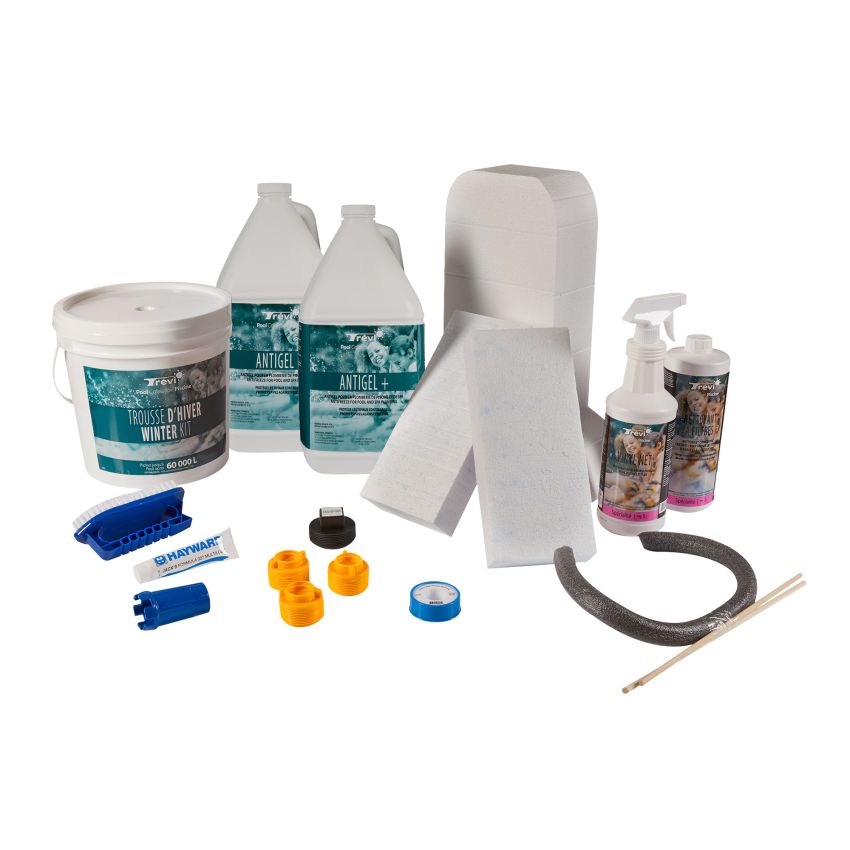
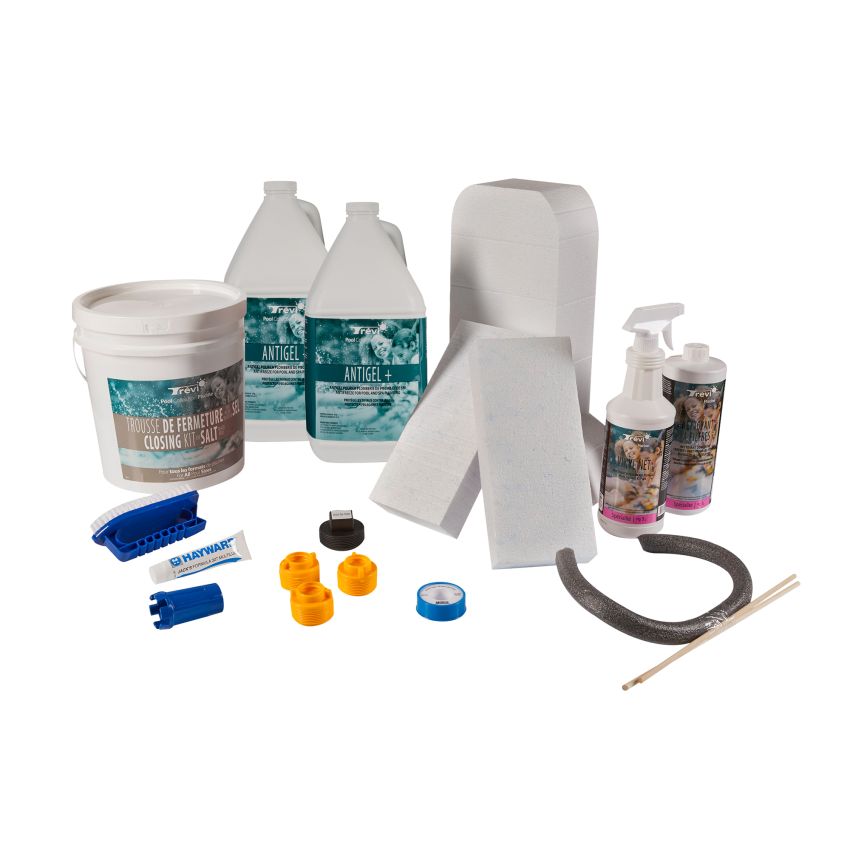
As low as
$79.99
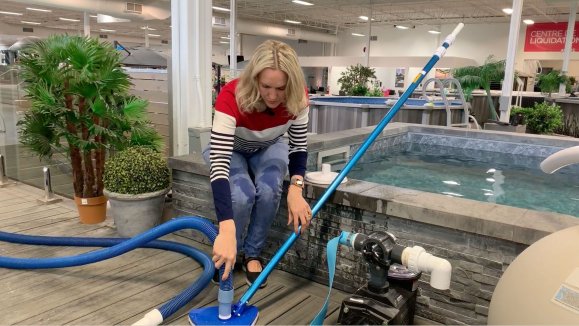
The leaves have already started to change color and fall. It’s inevitable, fall has arrived, and it’s time to close your pool. Whether you have an in-ground or built-in pool, the steps will be the same, and we’ll do them together today. But before we start, I have a few little tips. Now is the right time to check your installations, pool, and equipment. First of all, check if there are any leaks. If there are any, it should be fixed before the winter to avoid severe damage. It’s also interesting to check if any equipment is obsolete or will require repairs during the cold season. This way, you will avoid unpleasant surprises in the spring. Talking about spring, it’s always easier to open a pool when we did the closing as late as possible and kept the water and the pool as clean as possible. We recommend that you collect the excess leaves that have fallen in the water now and maintain your water balanced to keep it clear and clean until the closing. It’s also essential to keep your pool motor running until you close your pool. The reason is simple; it will allow the water to keep circulating in all the pipes and the equipment. One last piece of advice; check with your insurer to ensure that your pool is listed among your insurable assets. This way, you will have more peace of mind if anything happens during the winter. Ready? Let’s start! If you have a sand filter, it is better to clean your filter during the closing process. However, if the temperatures have started to drop, as we’ll let the cleaning product sit for 24 hours inside the filter, it would be better to do the cleaning in the spring to avoid any dangers of frost. If you have time in the days before the closing, or at least 24 hours before your pool closing, and the temperatures are still above zero, do the cleaning using Trevi Filter Cleaner. You’ll pour it directly inside the skimmer. First, we’ll turn off the pool motor and add the product. Then, we’ll turn it on again, but be careful because this will go fast. Look at your pump. Through the clear lid, you’ll see the pink product circulate. Turn on the motor and look. Once the pink product has disappeared, we’ll turn off the pool motor. It means that the cleaning product is entirely inside the filter, and you can now let it sit for 24 hours on the filter sand to deep clean it. When it’s all done, 24 hours after, you’ll turn the handle in the Backwash position. Turn on the pump again. Through the sight glass, you’ll see the pink product circulate again. When it has disappeared, the cleaning is over. With a cartridge filter, it’s also the best time, in the fall, during the closing process, to clean your cartridges to ensure they are clean and ready to use next spring. To do this, turn off the motor and open the valve on top of the filter. The air will be able to enter and the water to drain. When the water has been drained, you can open the cartridge filter. Remove the cartridges and let them sit entirely in the product, following the instructions on the product packaging. Then, rinse them thoroughly and store them for the winter. We’ll close the filter to proceed with the following steps. Before we start, we have an essential verification to do. If your in-ground or built-in ground pool has a dry well, you will not be able to start the closing procedures if the dry well contains more than 18 inches of water. You’ll need to drain it in that case. So, we’ll take a measuring tape and measure the water level inside the dry well. If the water level is below 18 inches, you can proceed with the closing. Otherwise, you’ll need to use a submersible pump, ideally one with an automatic release and let the dry well drain. You must understand that the water level inside the dry well is the groundwater level around the pool. It can take many hours or even days before the ground is sufficiently drained. So, even if you think that the dry well is empty, progressively, it could refill for some time before you can proceed with the closing process. To proceed with your pool closing, whether you have an in-ground or built-in pool, you need to lower the water level to two inches below the water returns. To do this, we’ll use the bottom drain. We must close the skimmer to let the water flow only through the bottom drain. To close the skimmer, we’ll use the three-way valve. To avoid any air intake in the skimmer, leave a garden hose open at low flow. To close access to the skimmer, we’ll point the Closed position of the three-way valve towards the skimmer. We’ll also close access to the filter by pointing the Closed position towards the filter. Now that the access is only to the bottom drain, we can turn on the motor and let the water level drops to two inches below the water returns. When the water level has reached the desired height, we won’t need to use our equipment anymore. It’s time to unplug it and turn off the circuit breaker. Now that the water level is two inches below the water returns, we can drain the water lines of your in-ground or built-in pool. It is a critical step. We must drain each line separately. We’ll proceed one-by-one. Of course, it will be the case for the water returns, but also if you have jets in your steps or different waterfalls. We will do everything from the skimmer. We’ll ensure to put our filtration system in a correct position to do our manipulations at the skimmer. The air must therefore pass through the skimmer. We will leave it in the Open position. We will close the bottom drain using the valve, leaving the skimmer open. As for a sand filter, you will turn the handle in the Waste position. This way, it will avoid stirring the filtration glass that we previously thoroughly cleaned. The water will only pass through the head of the filter. So, in the Waste position, we will turn on the motor and let the water drain through the backwash hose. To complete the steps of the blower with the sand filter, we will turn the handle in the Recirculate position. It will allow us to avoid any resistance from the filtration glass to drain each water line thoroughly. As for the cartridge filter, as the air must pass through the water lines, we must open access to the filter. With the cartridge, we have a three-way valve to manipulate, so we will close access to the backwash, leaving the path to the filter open. We have some manipulations to do for our water returns to prepare them before beginning to blow. To drain the water return lines we must remove the removable parts first. If you only have one water return, you will blow it and place your winter plug. If you have two or more; we’ll do them one by one. We will start with the furthest from the filtration system. Meanwhile, we’ll install plugs on the other ones. In this case, this one is the closest. We’ll remove the removable parts and place the plug. We can now go to the other one to drain it. It’s time to drain the water lines. We’ll need an industrial vacuum with a blower of at least 5.5 HP. As we have already said, we will do everything from the skimmer. First, we will clear some space by removing the basket and the door. It’s also a good idea to use the basket to gather the removable parts that we have removed from the water returns, the blue key. This way, everything will be ready for next year. With our blower, we’ll choose the nozzle that suits the opening of our skimmer. We want it to be as airtight as possible to get a better blow. When everything is in place, we can turn it on. Our water line is drained. We finished the first step. Now we can move on to the next one. We’ll plug this one and get closer to our filtration system, one water line at a time to finish with the closest one. In this case, we’ll go to the second water return and remove the plug. Before placing all the plugs for the winter, we’ll ensure to add a good amount of antifreeze in each water return. We are done with our water returns. However, if your pool has different waterfalls or jets in the steps, you still have some steps to do. These water lines for the jets in the steps or waterfalls are associated with different valves. So, you’ll ensure to leave only the valve associated with the equipment you want to drain open. So, if we start with the steps, we’ll let the valve of the jets in the steps open. We’ll start with the furthest one from the filtration system, as we did for the water returns. So, we remove the removable part. We can blow out the water line. When it is completed, we install the plug and go to the next one. As for the jets in the steps, we’ll use our expansion plugs. The right way to remove jets from the steps is to use a flathead screwdriver to lift the contour slightly. This way, you can grab the jets, lift the retractable part, and unscrew the jets from the steps. As for the waterfalls, if you have some, the method is the same, but this time, we’ll open the valve associated with the waterfalls. We’ll start with the furthest waterfall if you have several. Not all waterfalls are accessible or removable. If they are and you can access them, you can remove them and install plugs. If not, ensure you blow them long enough to drain each line thoroughly. For safety purposes, whether for jets in steps or waterfalls, the advice is always the same; pour a good amount of antifreeze in the water line before the winter. To store a waterfall or removable water blade, we must release it from the pipe. So, we unscrew the twist-off union. You will insert an expansion plug inside the piping. As for the water blade, we want to ensure it’s completely drained. So, we tumble it from all sides. If the water blade has a buried wire supplying the light, we will leave it outside for the winter. In this position it will be perfect. If there is no light or it’s possible to store it inside with the wire, we’ll store it inside. The next step is to drain the water line associated with the bottom drain of your in-ground or built-in pool. As for the previous water lines, everything will also start from the skimmer. Your blower is still in place, and since we have air coming from the skimmer this time, we want to redirect it only in the bottom drain. Which means we’re going to close access to the pump. To close access to the pump, we have to unscrew the handle a little bit, lift it, and point the Closed position towards the pump. Now, you will start your blower. We’ll patiently wait for bubbles to come out of your bottom drain for several seconds, then let it run. And this is really important because we don’t want the water to seep back into the bottom drain. While the blower is still in place, we will close the bottom drain by turning the handle towards your water line. The last water line we’ll drain is the Backwash line if you have a line installed permanently. So, if it’s the case with your blower in the skimmer, you’ll ensure to open the water line associated with the Backwash and let your blower run until the line is completely drained. For a sand filter, you’ll do the same step, but in this case, your filter handle will be in the Waste position. We are done blowing our water lines. We’ll now prepare the skimmer for the winter by removing the blower. We’ll pour half a gallon of antifreeze directly into the skimmer. We’ll close the opening with the proper plug and install the foam blocks for the winter. We’ve completed all the steps of the blower. Now we will winterize the rest of the equipment. To ensure we don’t forget anything, we’ll follow the path of the water. The first step is our pump. We’ll remove the lid, the basket, and the drain plugs. It’s also a good idea to use the basket to gather the drain plugs and the other accessories. It simplifies the storage. For a built-in pool, the pump needs to be stored inside for the winter. We’ll unplug it and drain it by removing the drain plugs. When we unplug it from the water line, we will unscrew the twist-off unions and plug the holes with expansion plugs. We’re back to the cartridge filter. Remember that before the steps of the blower, we removed the cartridges. We need to clean them thoroughly, but we are not done with the filter yet. We need to prepare it for the winter. To do so, we will open the valve to let the air seep inside. It will help the water to drain. For the water to drain, we need to remove our drain plug. Once the water is drained, we will put the drain plug back in place. Then, we can close the valve and remove the manometer for the winter. To close your sand filter, you will turn the handle from the Recirculation position in the Winter position and remove the accessories, manometer, and sight glass. If your backwash hose is not permanent, store it and your clamping collar too. We’ll remove the drain plug from the sand filter and store it inside for the winter. To close your heat pump, whether for an in-ground or built-in pool, we’ve already blown the piping, so there could still be a bit of residual water left in the unit. You will unscrew the locking ring on the piping. To let the water drain, you will tilt the unit forward. However, if your heat pump has a drain plug, you only need to unscrew the plug, and the excess water will come out. Then, you’ll put it back in place. Once we’ve checked that the water is completely drained, we’ll tilt the unit backward and add some antifreeze, and we’ll put the pipes back in place and screw the locking rings. If you have a salt system, at the closing, you’ll start by unplugging the power. After that, we’ll disconnect the flow sensor that we call the Flow Switch. Once we open the panel, we will put the switch in the OFF position and unplug the cell. As for the cell itself, you’ll remove it from the water line by unscrewing the twist-off unions. We’ll use the side where there is no wire. It’s easier to fix the cell in this way on the cleaning stand. As it’s the right time during the closing process to clean our cell. For this operation, I advise you to wear protective glasses and gloves. Ensure to protect the surface where you’ll place the cell. The product we’re using to clean the cell is reusable. I recommend you read the instructions on the packaging for the soaking time. When it’s done, you can put the product back in the bottle for future use. Once everything is checked, either store your cell for the winter using the replacement hose on the water line or put the cell back in place. If you have an ozonator, we’ll start by removing the plumbing from the water line. Tilt it on both sides to drain the excess water and disconnect the black nozzle to which the green wire is connected. We’ll put the plumbing back in place on the water line for the winter. As for the control box, we’ll unplug the power cord, and the rest will stay in place for the winter. If you have a chlorinator, we’ll unscrew the hoses connected to the plumbing. To completely drain the chlorinator, put the switch in the Full position. It will allow the full opening, and the water will be able to drain. At the pool opening, if there is still chlorine inside, we will dispose of it safely. Then, you’ll ensure to drain and dry it well, then put the lid back in place. You can store it inside for the winter. If your pool has a light system, we will also prepare it for the winter. If it is a light that is built-in the pool wall, you will unplug the end of the wire from the transformer. The light can stay inside the pool for the winter, but we will store the transformer inside. If you have a skimmer light, as it is the case here, we will also unplug it from the transformer. The transformer must be stored inside for the winter. As for the light itself, we’ll unhook it and store it for the winter. Now it’s time to secure your lights for the winter. We’ll look at the procedures according to your type of installation, starting with the Atom light. You’ll need a flathead screwdriver to push the red button that will allow you to turn the bulb and release it. Then, using a Philips screwdriver, you’ll unscrew the three screws at the back of your light. We are going to unscrew them but leave them in place. That will facilitate the next step. We remove the bulb, and we replace it with a safety plug. Once the screws are secured in place, you can push the wire back inside the base, and we’ll close everything with an expansion plug. Ideally, you should store the light inside for the winter. As for lights like Brio or Gaia, it works the same; you’ll unscrew the light and replace it with a safety plug for the winter. We are going to secure it with a clamping tool. Again, you can store the light inside for the winter. Today, our pool is equipped with an Argon light, so we’ll secure it for the winter. To remove it, slightly turn it and lift it. Once it is out of the water, you can unscrew the base and replace the bulb with a safety plug. The light must also be stored inside for the winter. Then, we put everything back in place. It’s essential, until frost, to ensure you maintain the water level below 18 inches inside the dry well. You should monitor the water level throughout the fall. We’ve completed all the closing steps for the pool and the equipment. However, your water needs a little extra help. So, it’s the right time to add some Hivercide and the different products included in your closing kit. You’ll choose your closing kit according to your type of sanitation system. There are many brands, so be careful and refer to the labels on the packaging of your products. If you’ve followed each step of this pool closing video, your pool is ready to withstand the winter safely, and we can’t wait to see you next spring. If the task seems too complex or you’re running out of time, Trevi offers a pool closing service, and you can make an appointment online at trevi.ca. See you soon!