Lights
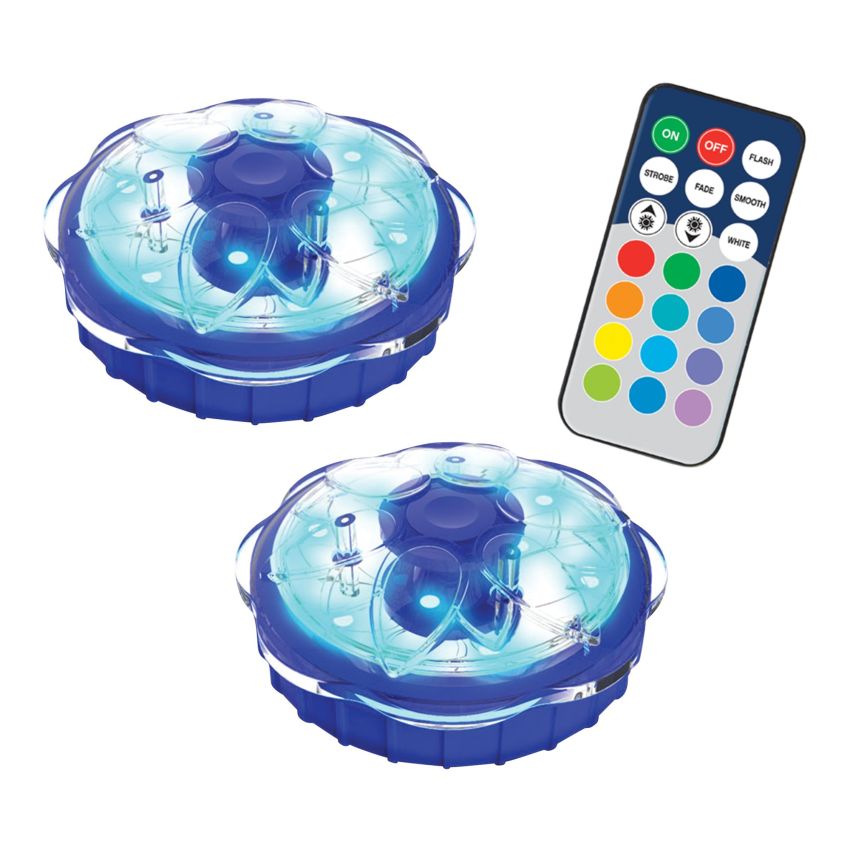
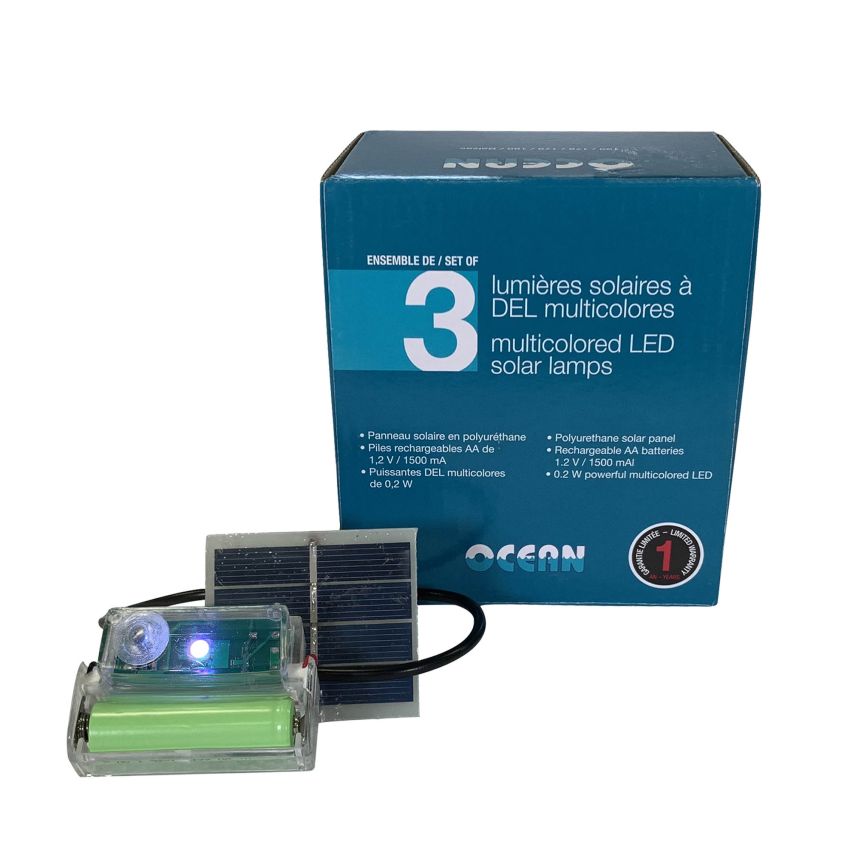
Mlticolored LED solar lamps
$149.99
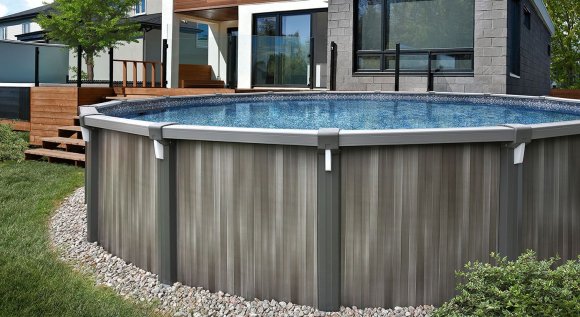
If you’ve chosen a solar pool, you might want to add lights to it so that it lights up at night. The manipulations are simple to perform, you just need to know what to do. We will also show you how to replace a light if necessary.
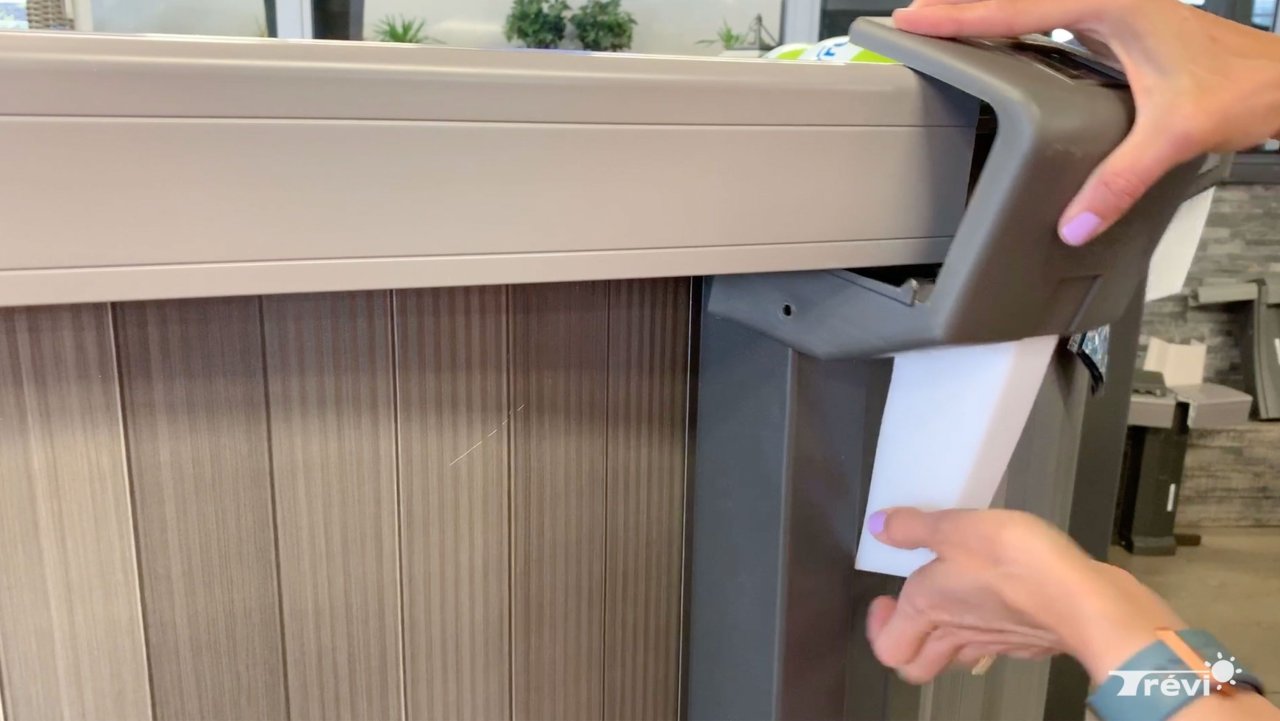
If you have a model like this, you will start by removing the two screws on the side.
Subsequently, to access the light, the seat seal is removed by first lifting the bottom part. Then, you release the front part by pulling down. You have to be careful because the white box that contains the light is held to the post by a small tab. Be delicate when removing it.
On this portion, we can immediately remove the cap since we will replace it with the solar collector. We are going to insert the sensor wire and we are going to fix the sensor using the retaining box.
Next, we’ll connect the light to our wire. We first insert the battery into the light box which we will then insert into our white box.
To find out which side to insert it on, locate the small button that allows you to change the color of the light. This small key is pressed when the latch is pressed. So we're going to make sure to put them face to face, to install the wire properly and put pressure on our light so that it remains stuck in the white box.
So, at this time, we can connect the solar collector and the light together. We screw it back so that the connection is made correctly.
Then position the light here just below the small anchoring legs. We are now ready to put everything back in place.
When you want to remove the box, just reverse the process, starting with the little leg at the bottom.
Then, you must push firmly enough to get the little hooks under the seat.
Once it's done. There remains only the rear portion to put back by pushing firmly and we complete the whole thing by replacing our two screws. So it's the same process to install a new light or if you need to change one - Just repeat the same steps.
If you’ve chosen a pool model like this one, in order to access the light, you will have to remove the top portion of the seat seal. You will therefore slide your hand underneath to push it down and then lift it.
Once this is done, we will be able to remove the cap. This is where the solar collector will be installed. We will therefore slide our wire and put the sensor that we will hold in place with the retaining frame.
Next, we need to install our light. The first step is to add the battery.
The snap button to change the color of the light is right here so you can change the color even when the light is on.
Here is where you need to insert the light. It is important to get to the bottom of it.
If you have to remove it, press it to release it from the frame and you will be able to remove it very easily. I put it back in place. We must now connect the sensor to the light by simply screwing the two ends of the wires together.
Then, all that’s left to do is to reinstall our piece by positioning the solar collector upwards and positioning the wire correctly so that it doesn't prevent us from putting the cover back in place.
We insert the small retainers at the bottom of the case, making sure everything is inside and then we push. We still have access to our button to change the color of the light right here, below.
For this other model, the very first step, (we’ve already done it!), is to remove the screw which is located under the extension and which allows it to stay in place.
Once removed, you can easily lift the part and remove the cap where we will place our solar collector. It is put in place with the retaining frame.
Afterwards, we will come and install our light there with the battery that we have positioned beforehand. We insert the light right here, to give us access to the press button which will allow us to modify the color of the light as we wish.
Connect the solar collector and the light together.
All that’s left to do is to put the extension back in place and our screw to stabilize it.
You are now ready to change your burnt lights or add more to your liking to personalize your pool.