


Spa Closing Guide
Fall is the ideal time to close your spa. You can leave it running as long as possible to enjoy the cooler weather, but never wait until freezing temperatures to begin the process. Ideally, keep the water in your spa at a minimum of 85 degrees Fahrenheit (29ºC) until it is time to close it.
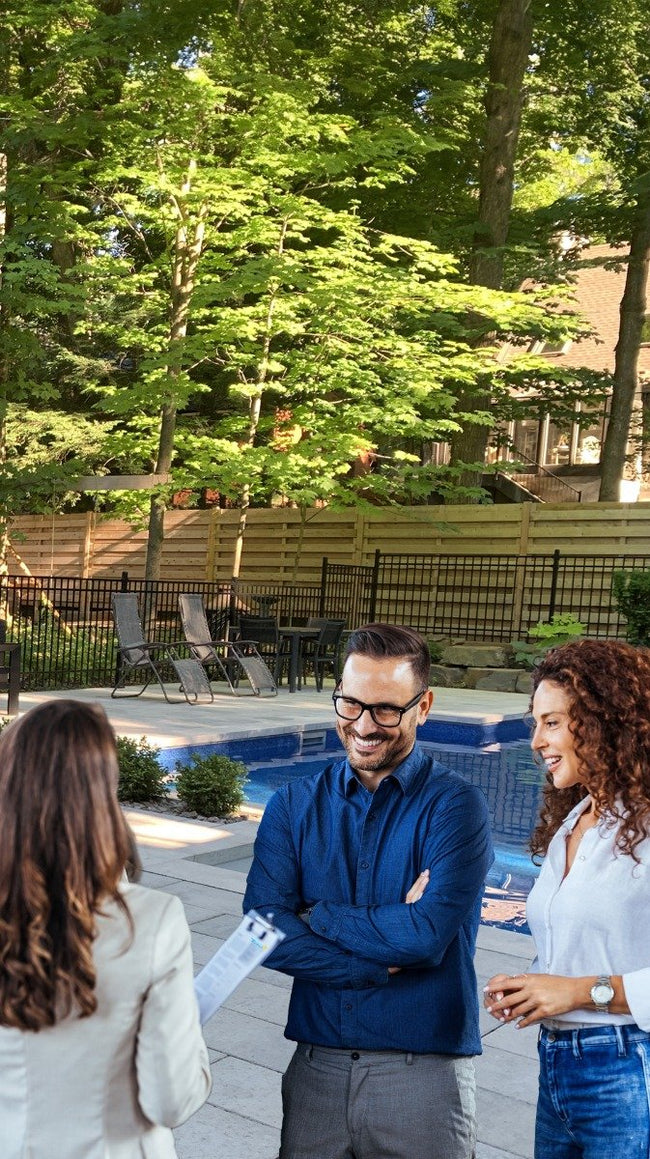
If this process seems too complex or time-consuming, our experts can take care of it for you! You can book an appointment for a turnkey closing service directly on our website
How to close your spa for the winter
1. Preparation and recommended products
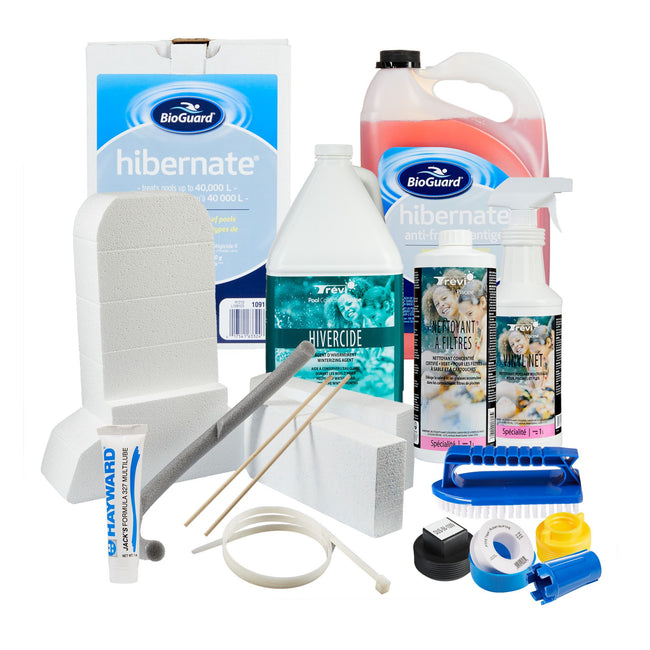
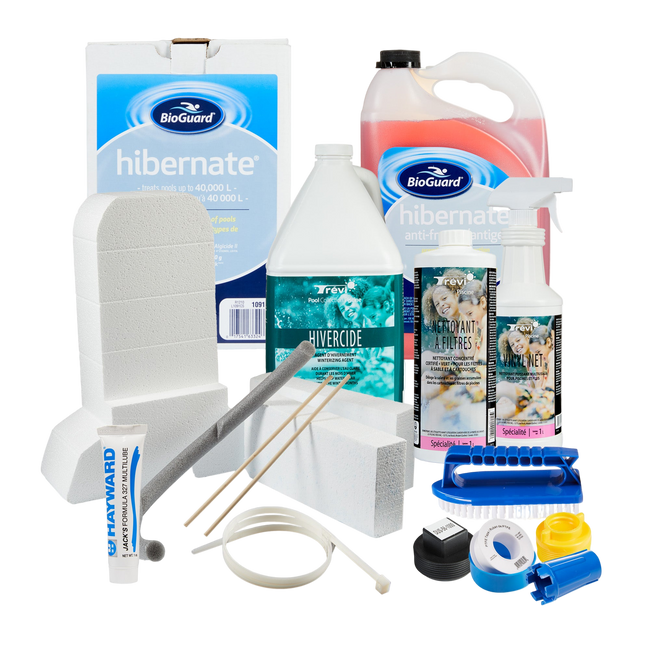
List of necessary products and tools
Products
- Pipe cleaner (Whirl or Tube Cleaner)
- Spa acrylic cleaner
- Cartridge cleaner
- Cover cleaner
- Plumbing antifreeze (spa quality)
Valve lubricant
Equipment
- Submersible pump
- Garden hose
- Industrial vacuum cleaner
- Funnel
- Cloth
- Styrofoam
- Saw
- Measuring tape
- Protective cover (canvas)
- Rope
- Large trash bags
Spa preparation
24 hours before closing:
- Lift the cover of your spa. Leave it open throughout the winterization process.
- Remove the cushions (headrests) to protect them.
- Add the pipe cleaner (Whirl) to the hot water and follow the instructions.
- Run the pumps at maximum speed for about 20 minutes.
Pipe cleaner
2. Drain the water
Turn off the power
Always start by turning off the circuit breaker for your spa as a safety precaution.
Empty the water
Use the drain plug and a hose, or the submersible pump (faster), to drain the water as low as possible.
Preparation for the wind tunnel
When the water has been drained as far as possible, reinstall the cartridges (rinsed) to create the restriction needed to purge the pipes.
Submersible pumps & hoses
3. Purge valves and pipes
This step is crucial to prevent damage caused by frost.
Removal of excess water
Use your Shop-Vac industrial vacuum cleaner to suck up any residual water in the tank.
Purge the valves
Neck and Fountain Valves: Remove the cap, unscrew the cover. Remove the inside of the valve and its gasket, lubricate the gasket. Insert the Shop-Vac to push air through and clear the line.
Diverter Valves: Remove the cap, unscrew the cover. Remove the valve interior and gasket, lubricate the gasket.
Drain the pipes using the jets (suction)
- Vacuuming the stations: Go station by station, starting with the lowest jet. Vacuum until you no longer hear any water noise (gurgling).
- Suction drain: Plug all drains except one with plastic bags. Vacuum the unplugged drain, then repeat the process for each drain.
- Master jet (large jet): Unscrew and pull out (protect the acrylic if necessary). Vacuum the opening.
- Reclining sections/chairs: Do this in two sections:
- the backrest (lowest jet)
- then the leg section (lowest jet), vacuuming these jets. - Finishing: Vacuum each jet and any remaining water inlets.
Preparing to clean the hull
Vacuum the water from the seats and the bottom of the spa. Everything must be thoroughly vacuumed before cleaning the acrylic.
4. Final cleaning
Cleaning the acrylic
Surface cleaning: Use an acrylic cleaner to remove all visible marks and stains.
Matte black spa: If you have a matte black spa, follow the manufacturer's specific instructions to avoid damaging the finish.
Cleaning and storing cartridges
- Remove the cartridges from the skimmer and use the Shop-Vac to remove any residual water.
- Rinse the cartridges to remove most of the dirt.
- Soaking: Dilute the cartridge cleaner and soak according to the instructions.
- Drying and storage: Rinse the cartridges, let them dry thoroughly, and store them indoors for the winter.
Cleaning the cover
Use the cover cleaner to clean the surface of the spa cover.
Reinstallation of parts
Replace the headrests/cushions and the Jet Master.
The essentials
5. Antifreeze and winter protection
Almost done! These final steps ensure maximum protection.
Lowering of the water level
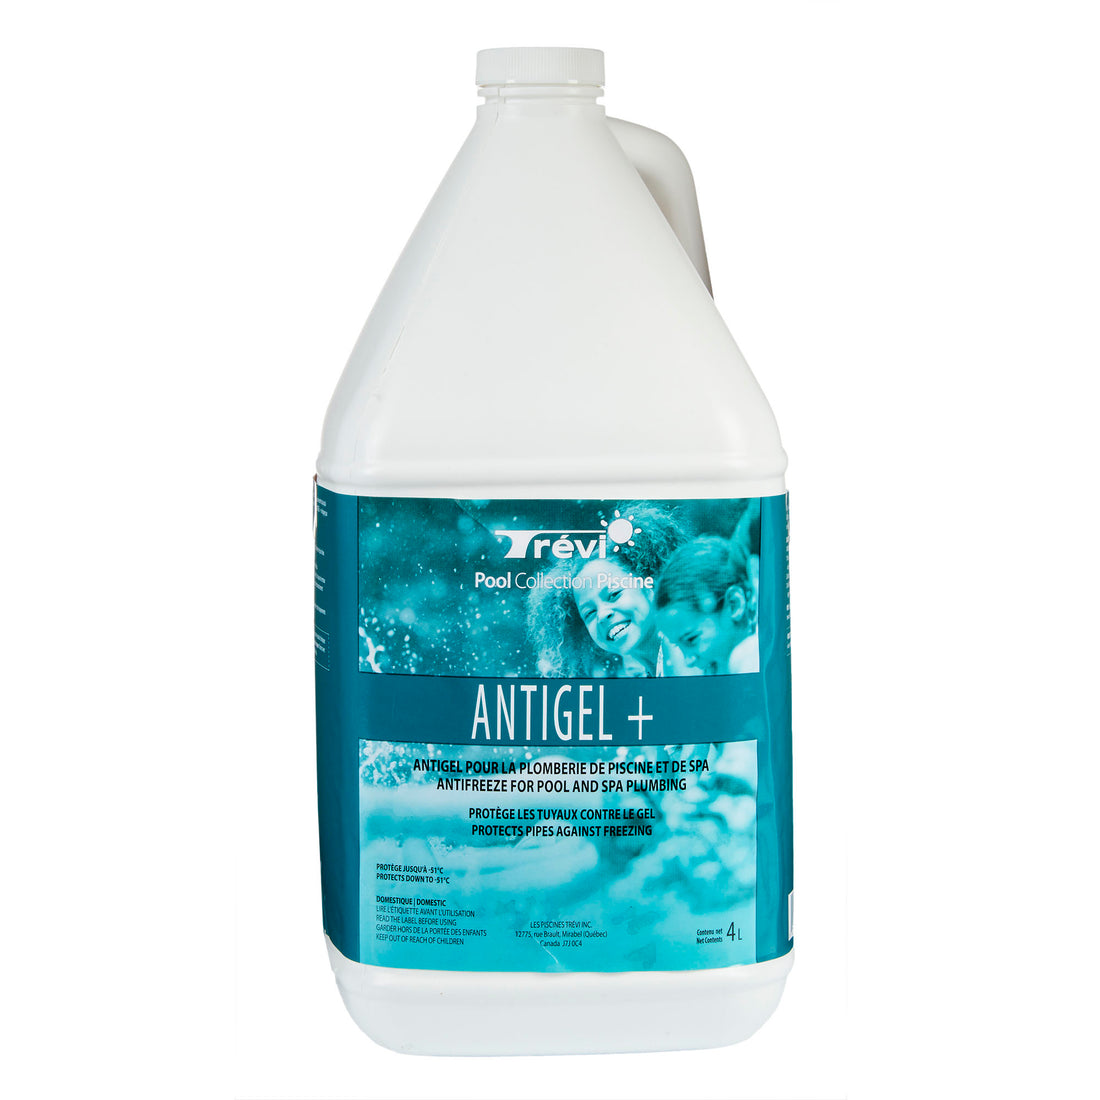
- Use the funnel to pour plumbing antifreeze (spa/pool quality) into:
- The skimmer.
- At least one of the jets in each massage station. - Final suction: Antifreeze may have dripped onto the spa floor (the lowest part). Use the vacuum cleaner to suck up this excess antifreeze and reduce the chance of stains.
- Antifreeze is essential for protecting the elbows and pump equipment from freezing.
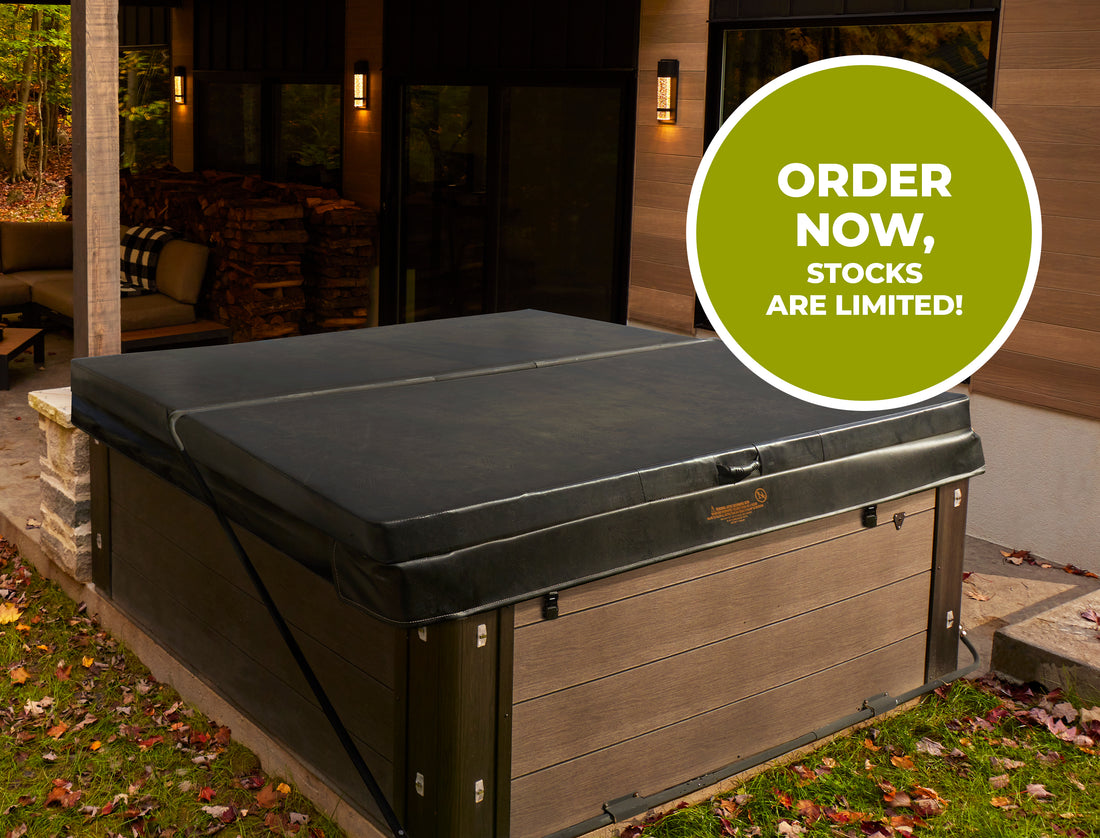
- Support: Cut Styrofoam blocks to the correct height.
- Place these blocks under the lid to keep it raised (to prevent moisture absorption).
- Lock the lid with its straps.

- Cover the spa with the winter protective cover (canvas).
- Use a rope to secure it under the edge of the spa, ensuring that it can withstand wind and snow accumulation.
The essentials
⚠️ Winter warning
IMPORTANT: During winter, be sure to clear snow from the cover regularly, especially during heavy snowfalls, to prevent damage to the cover and spa structure under the weight of the snow.
Congratulations! Your spa is now ready for winter.
You have done the work necessary to restore a corner of paradise that will be ready for use as soon as the first rays of spring sunshine appear.
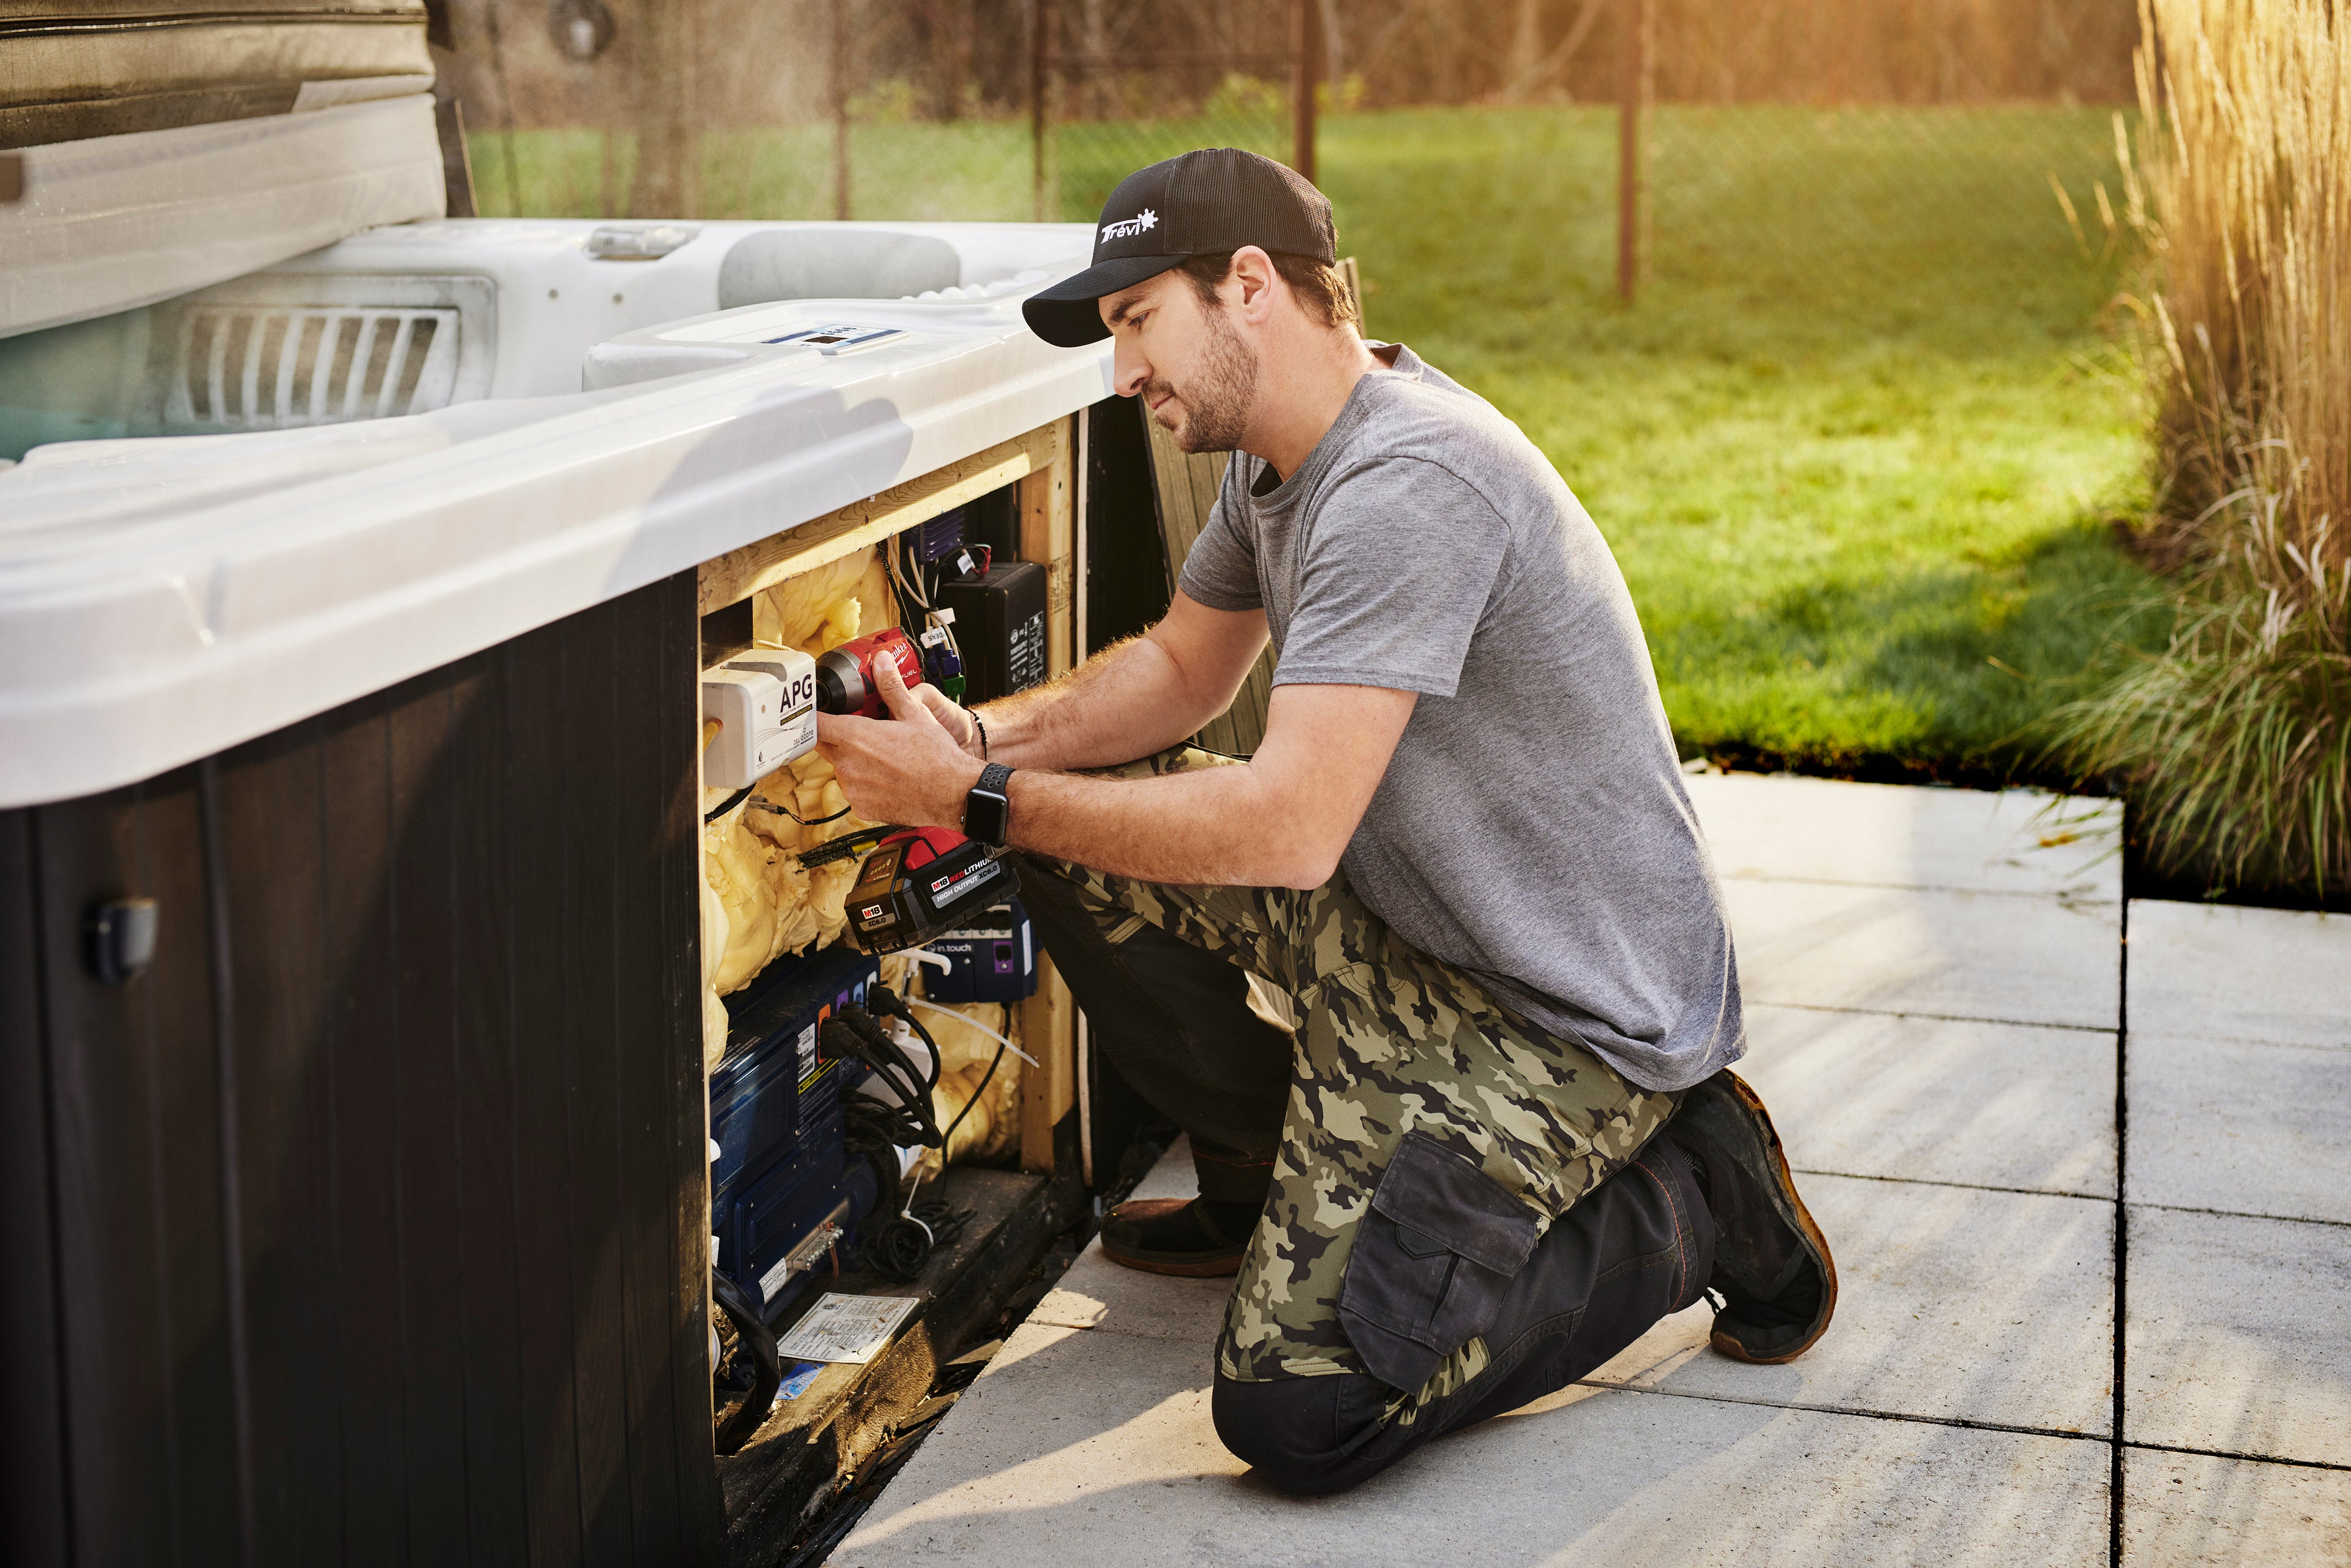
Spa closure service
Don't want to worry about closing your spa? Let our experts take care of it this fall! Book our spa closing service for guaranteed peace of mind.
Book early to choose your date and enjoy the end of the season to the fullest!


Closing class
In store
Learn how to close your pool from our in-store experts.